Let's get started!
The philosophy behind this template ?
Many lecturers, professors and R-aficionados have great scripts living a
peaceful but very lonely life on their machines. While they sometimes get shared
on the likes of Moodle or via Dropbox, they rarely get the chance of living on a
dedicated website since there is often a non-negligible upfront cost in setting
it up. This is exactly where {coursedown} comes in! Designed to minimize the
time banging one’s head over CSS styling options or HTML building blocks, it
allows its users to create a content-centric website for their course in less
than an hour.
Let’s get started!
We’ll assume that you already have the necessary accounts and software installed for a
standard {blogdown} site. If not, you can get started by reading this tutorial or this one.
It will also assume that you are somewhat familiar with the blogdown {blogdown}
publishing workflow. If you need a quick refresher, read this great post.
There are essentially three main steps to setting up your site: fork, customize, and share!
Fork
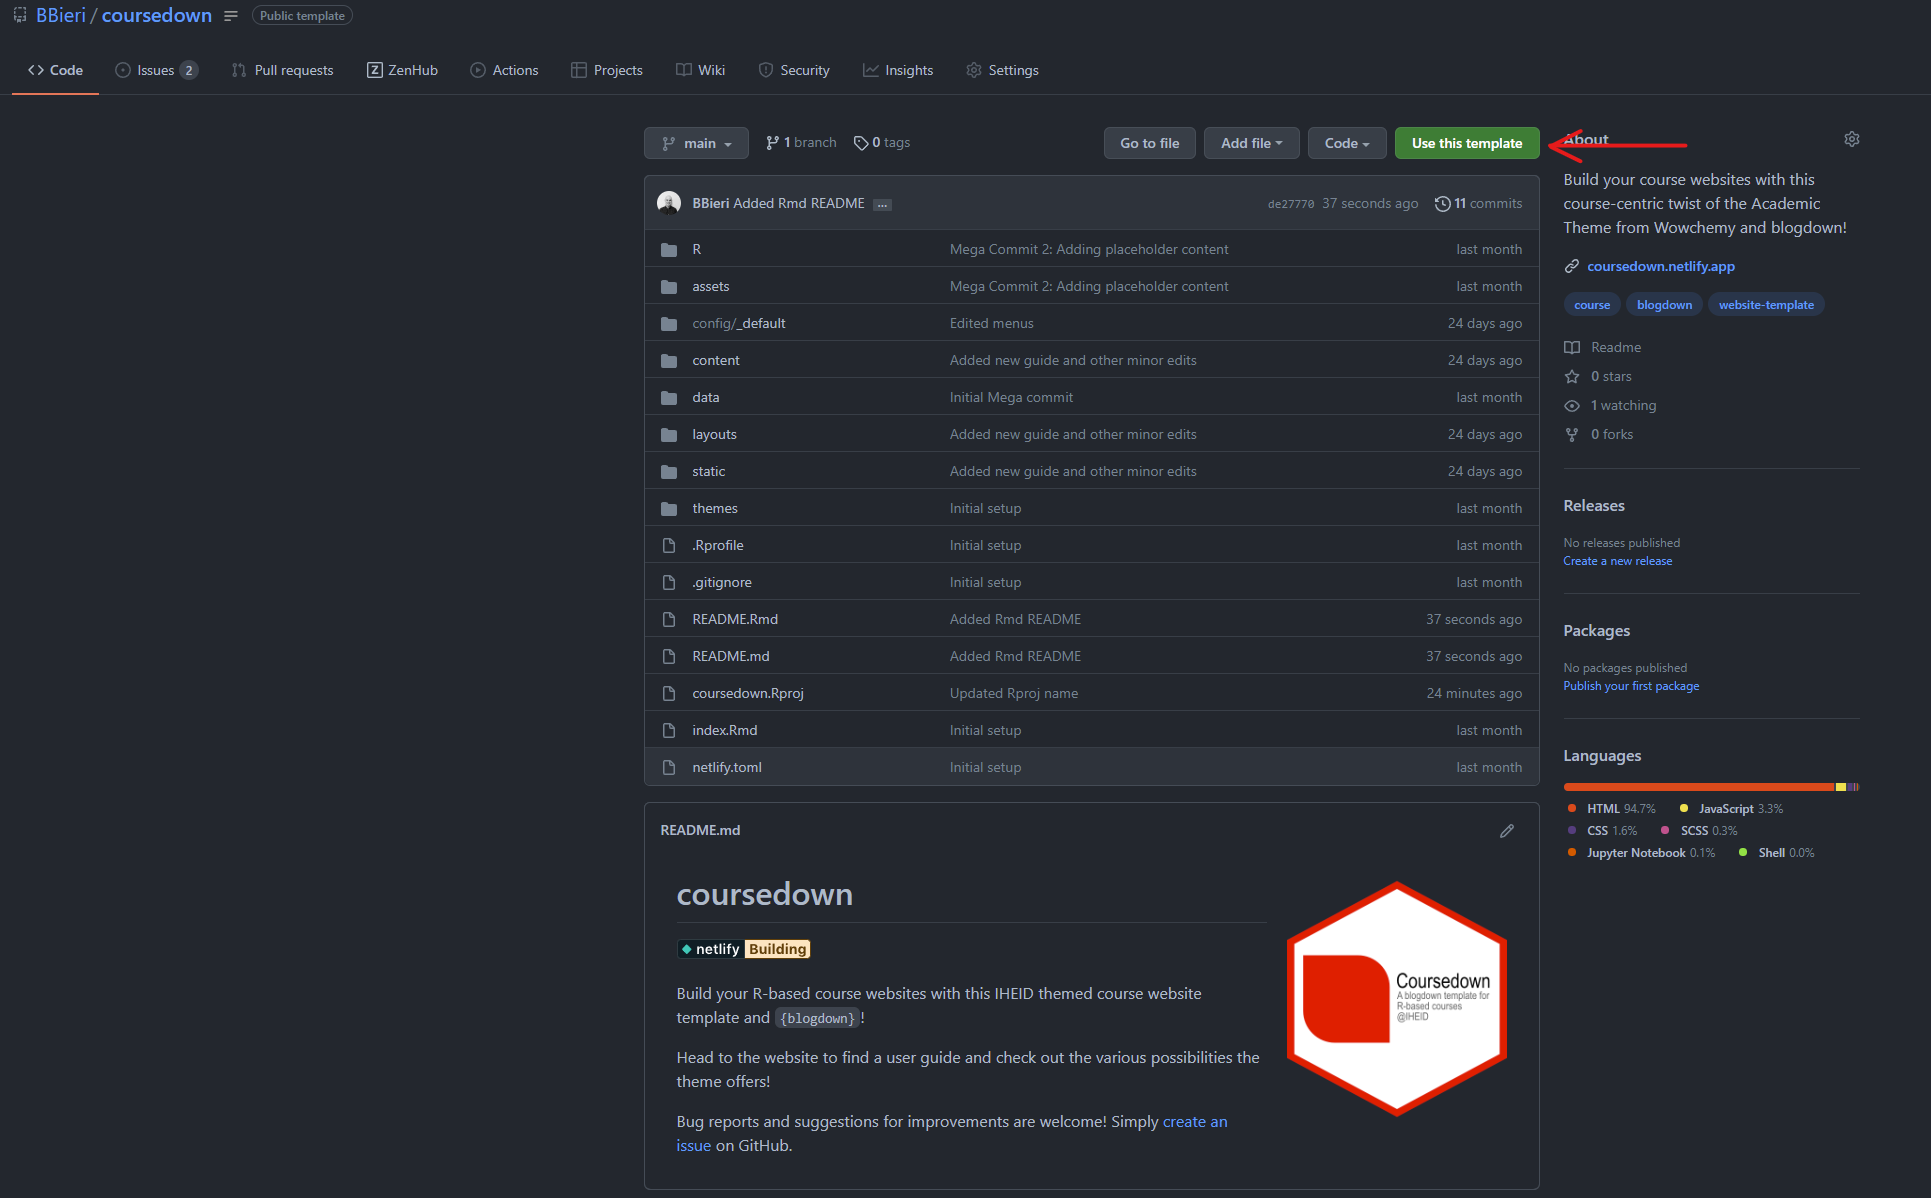
The first step in setting up your site is to “fork” it from the
{coursedown}repository. Note here that
the {coursedown} repository has a special structure since it actually is a
template repository! Hence the only thing you need to do is to click on the
green “Use this template” button and select a name for your repository.
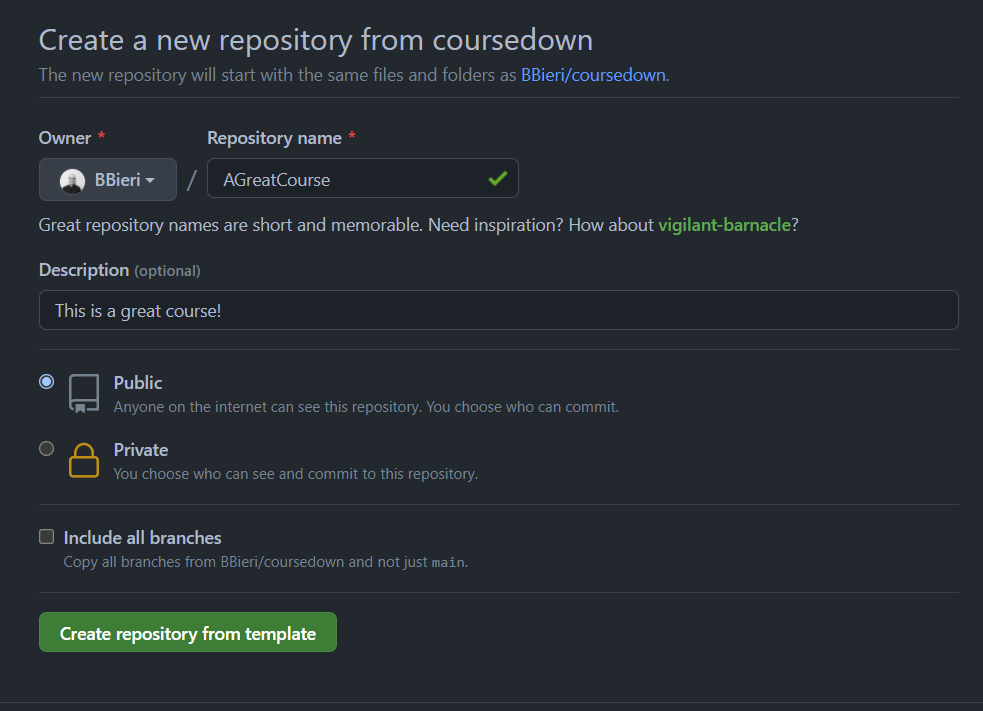
Once the repository is created, clone it to your local machine with your Git client. Then, set up the description, the title and the README of your repository to reflect the information of your course. When your repository is set up on GitHub, head to Netlify and deploy your site by linking it to their services. Note that a free plan should be more than enough to cover your needs.
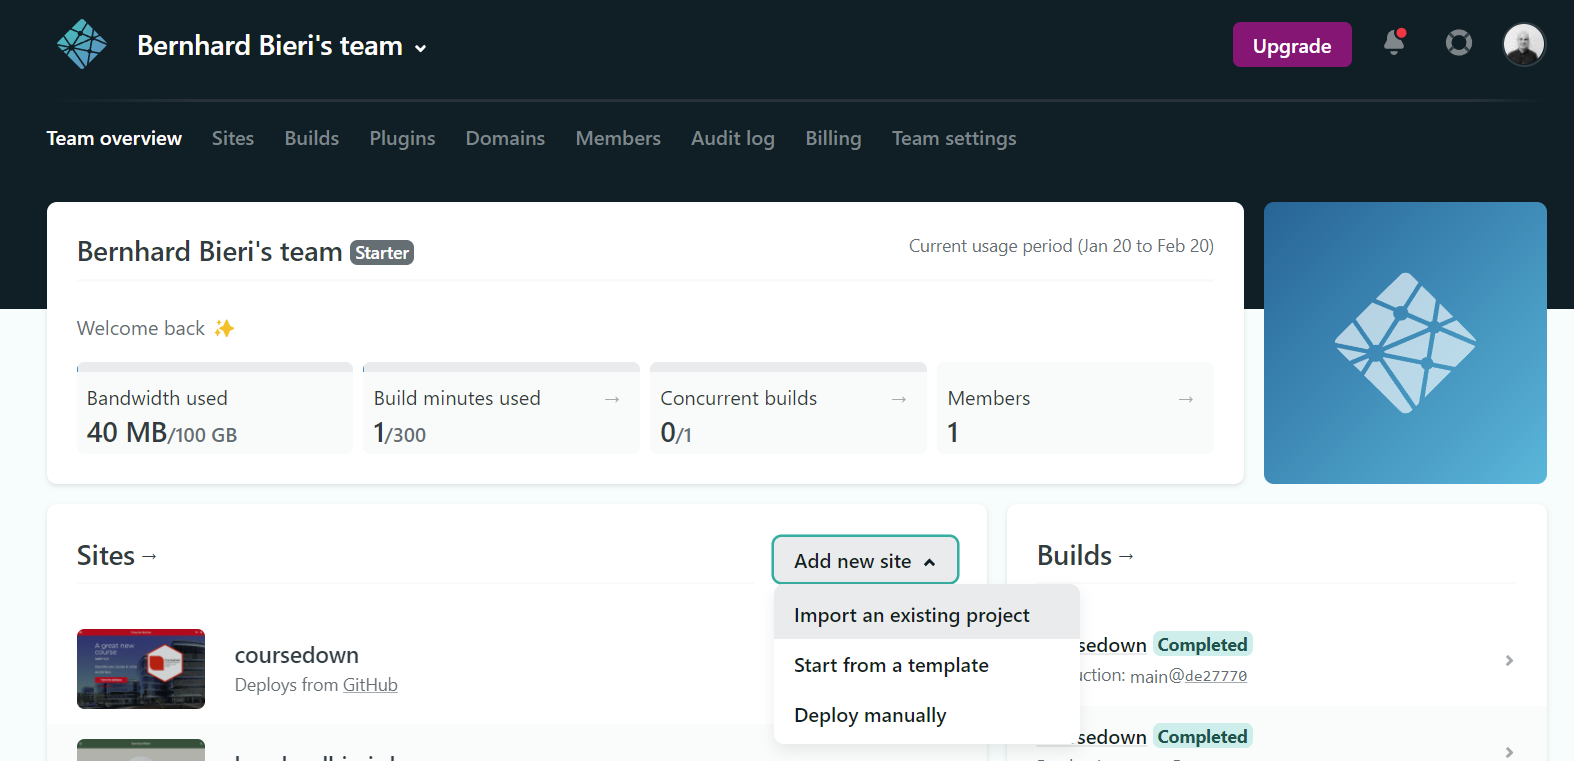
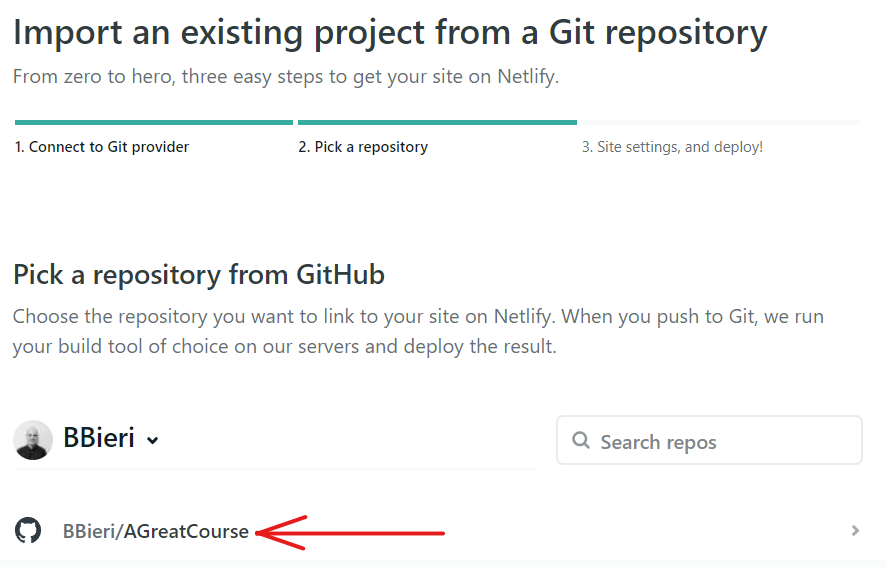
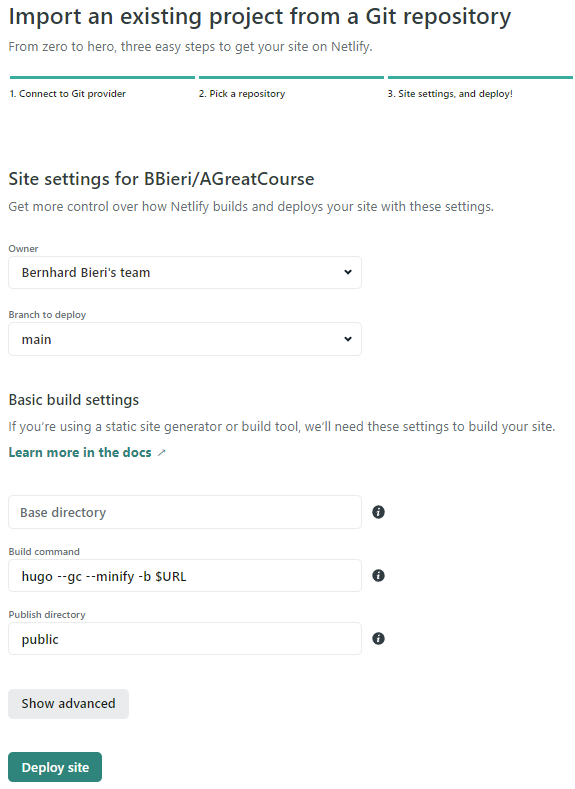
You should not have to change anything in the following site settings. Once once you’re done, click deploy!
After waiting a minute or two to let Netlify build your site, you’ll now be able
to access your {coursedown} site online with an automatically generated link
shown on the Netlify settings page of your site.
Congrats! Your site is now online.
Customize
It’s time to make the site yours by filling it with content! Start by editing
the different files in the config/_default/ directory. These files contain
mostly the metadata of your site. All files contain comments explaining the
function of the different YAML selectors. If something remains unclear, feel
free to open an issue on the
{coursedown} repo.
The next step is to look at the content directory. As its name suggests,
you’ll be able to edit the content of your site here such as the building blocks
of your landing page, the posts section you’ll use to organize weekly classes
and further metadata about the authors of the site. Let’s start by editing the
latter. Head to the content/authors/admin/_index.md file and edit it to
make it your own.
Once this is done, check out the content/courses folder.
You guessed it, this is where this course lives! These courses are mainly meant
as additional resources for students where you can link useful resources for
them to learn R or mini scripts on how to perform basic data manipulation tasks
for example. Feel free to remove the ones included with the template and add
your own!
The content/home folder contains all the building blocks of the main landing
page. By default, the {coursedown} template uses the hero.md block with a
parralax effect and an additional custom outline.md block. Edit the former
to add the course title displayed on the landing page, the course code and
describe it in a few words. You can also add an R style course logo if you’re
feeling fancy! Simply add the image to the content/home folder and link it in
the hero.md file. Note that you should not need to edit the outline.md file
as it’s contents were already edited in the config/_default/params.yaml file.
Finally, if you want to add a widget present in the original wowchemy template,
simply add it in this folder and edit it 1.
It’s time to create your weekly classes! Head over to the content/post folder
and edit/add posts for each one of your course sessions. Each folder contains
a featured image and the index.Rmarkdown file that you can edit. Feel free
to sumarise the contents you plan on covering during the week in this file and
do not forget to create links to your resources (labs and slides) in the yaml
header. You could also add hyperlinks to the readings you plan on covering this
week to make it even easier for students to access the resources.
The final step in the content folder is to edit the privacy and the terms and
conditions page if you’d like to add one. Check out this EU resource
to learn more about writing a GDPR compliant privacy notice.
You’re almost done! It’s now time to add the mantlepiece of your site, the slides and
the scripts you prepared for your course and have linked in the content/post
directory. These can be easily added to the content/static folder in their
corresponding folder. It’s as easy as drag and drop! Take a moment to look at
how I integrated the {iheiddown} presentations and the labs borrowed from
Alison Hill’s Sharing on short notice template for illustration purposes and
make them your own. Finally, note that the static folder also holds all other
static resources such as pdf’s and images.
Share
Before sharing your site with students, you might want to change it’s URL. You can easily do this by heading to Netlify and buy a domain. See their documentation on how best to do that.
A neat way to promote your course online is to share a link to your website on Twitter. To make your Twitter post stand out, you could add an OpenGraph image to your GitHub repository. To read up on how to do this exactly head over to GitHub’s documentation.
Wrapping up and going further
Congratulations! You’ve come to the end of this quick tutorial and should now have a brand new course website set up. Feel free to email me if you have any feedback or issues with the site. You can also open an issue on the GitHub repository. A follow up article will soon be released to describe the process of customizing the site even further with custom CSS and HTML building blocks. Stay tuned!
-
You can find them in the
themesdirectory if needed. ↩︎